


Master Your Desk: Organize Like a Pro
Okay, let’s be honest. How many times have you looked at your desk and thought, “Ugh, I’ll deal with that later”? I know I’ve been there – more times than I’d like to admit! A cluttered desk isn’t just an eyesore; it’s a productivity killer. It’s hard to focus when you’re surrounded by piles of paper, stray pens, and that half-eaten bag of chips from last week (guilty!). But fear not, my friend! I’m here to share my tried-and-true method for transforming your desk from a chaotic mess into an organized oasis. Get ready to boost your productivity and finally find that stapler when you need it!
The Great Desk Purge: Decluttering is Key
Before we even think about organizing, we need to declutter. This is the most crucial step, and it’s where most people get overwhelmed. Don’t worry, I’ll walk you through it. Think of it as a mini-excavation project – you’re unearthing hidden treasures (or, more likely, long-lost receipts).
Step 1: Empty Everything!
Yes, you read that right. Take everything off your desk. Every. Single. Thing. This includes papers, pens, sticky notes, that random rubber band, everything. Put it all in a designated “holding zone” – a nearby table, the floor, whatever works. This gives you a blank slate to work with and forces you to confront the sheer volume of stuff you’ve accumulated.
Step 2: The Four-Pile Method
Now, create four piles:
- Keep: These are the essentials you use daily or weekly. Think your computer, monitor, keyboard, mouse, and maybe a few frequently used pens.
- Donate/Recycle: Items you no longer need but are still in good condition. Old notebooks, unused office supplies, etc.
- Trash: Anything broken, expired, or completely useless. Be honest with yourself!
- Relocate: Items that don’t belong on your desk. This could be anything from personal items to files that belong in a filing cabinet.
I find that being ruthless during this step is key. If you haven’t used something in the past month, chances are you don’t need it on your desk. Be honest with yourself and don’t be afraid to toss things out. I once found a dried-up marker from 2018 during one of my desk purges! It was a real eye-opener.
Organizing Like a Pro: Setting Up Your Workspace
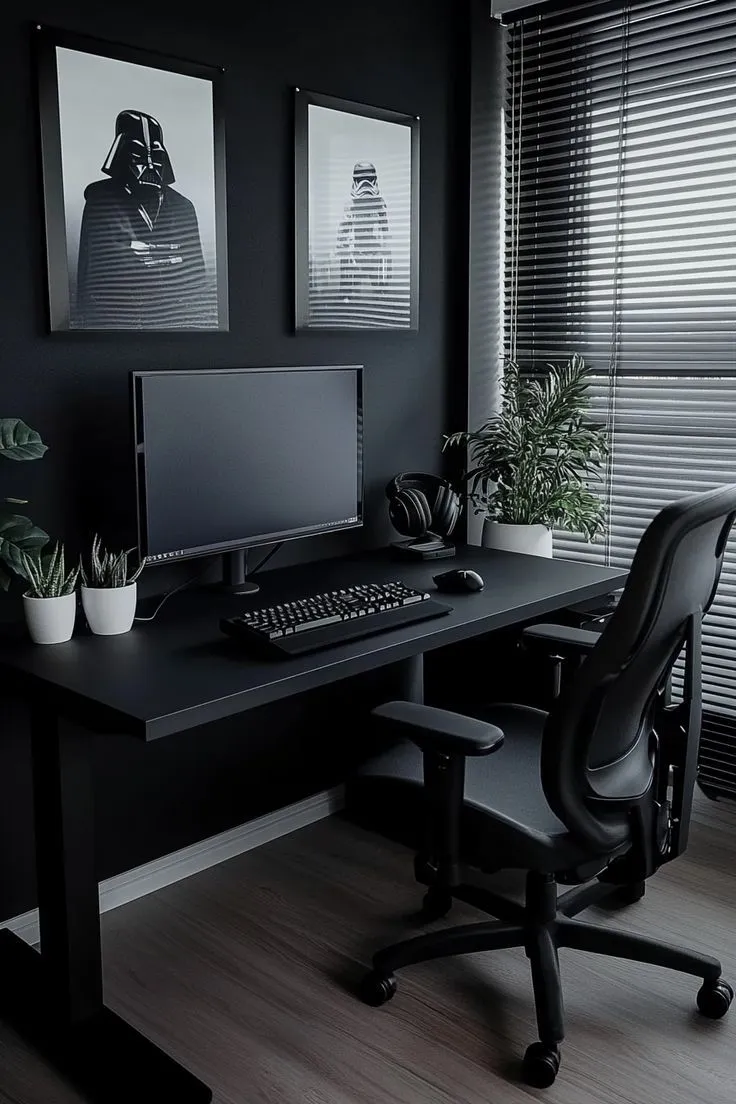
Now that you’ve decluttered, it’s time to organize! This is where the fun begins. We’re going to create a functional and aesthetically pleasing workspace that will inspire you to be productive.

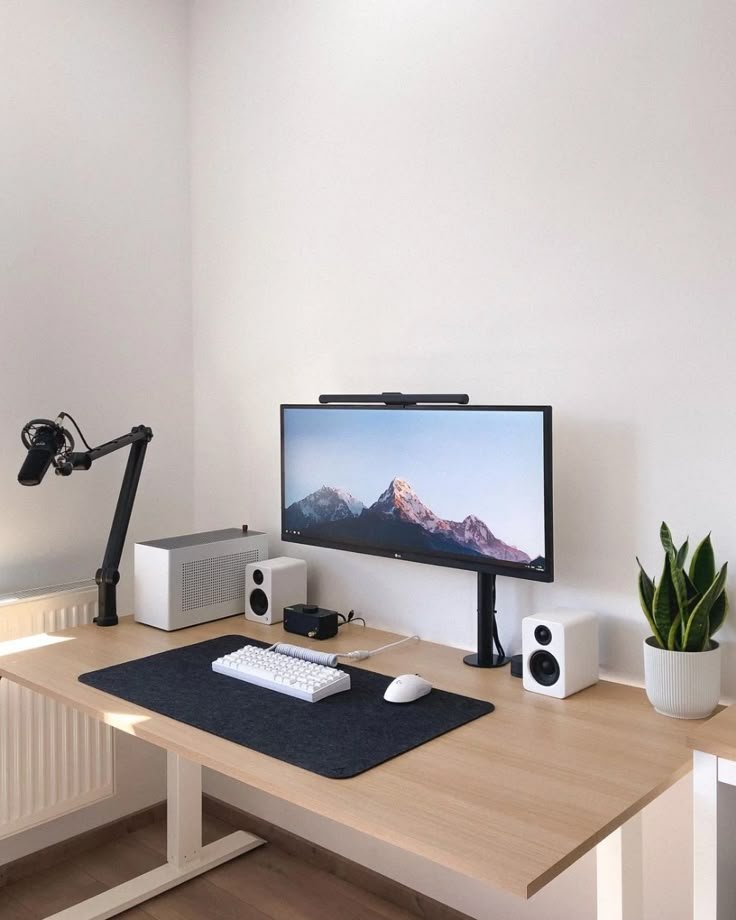
Step 3: Zone Your Desk
Think about how you use your desk. Divide it into zones based on your workflow. For example:
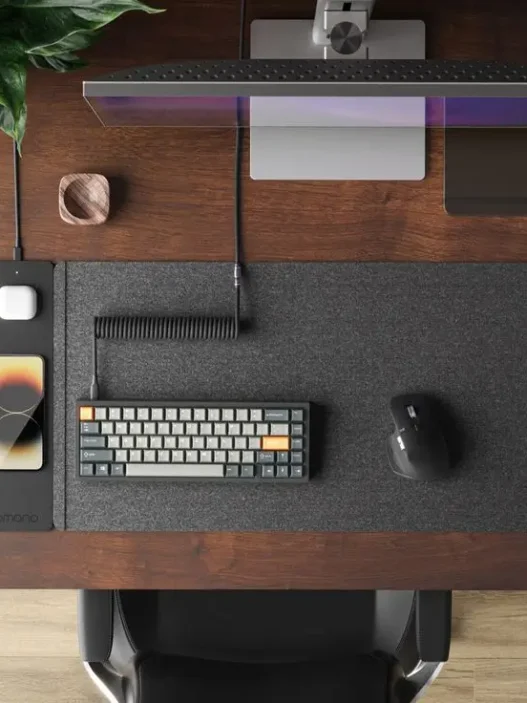
- Primary Zone: The area directly in front of you. This is where your computer, keyboard, and mouse should be.
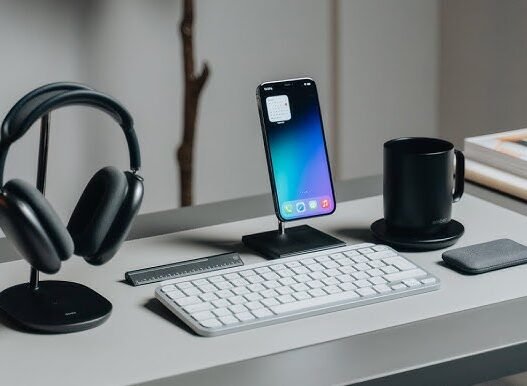
- Secondary Zone: The areas to the left and right of your primary zone. This is where you can keep frequently used items like a notepad, pens, and your phone.
- Tertiary Zone: The areas further away from you. This is where you can store less frequently used items like files, books, and a desk lamp.
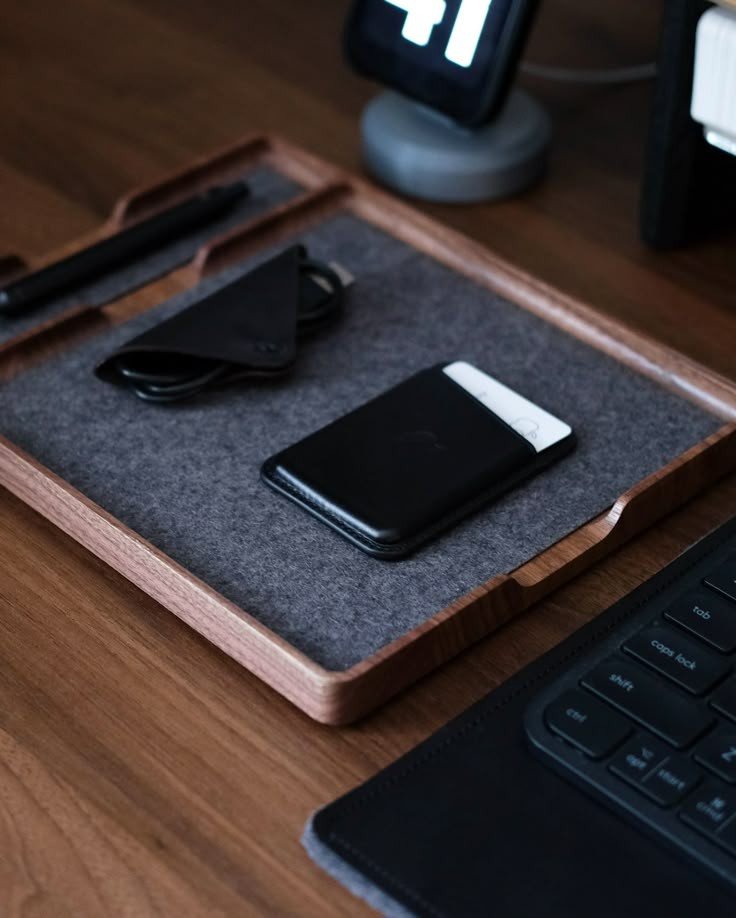
I personally keep my notepad and favorite pen on my right, as I’m right-handed. On my left, I have a small tray for incoming papers that need my attention. This helps me stay organized and prevents papers from piling up.
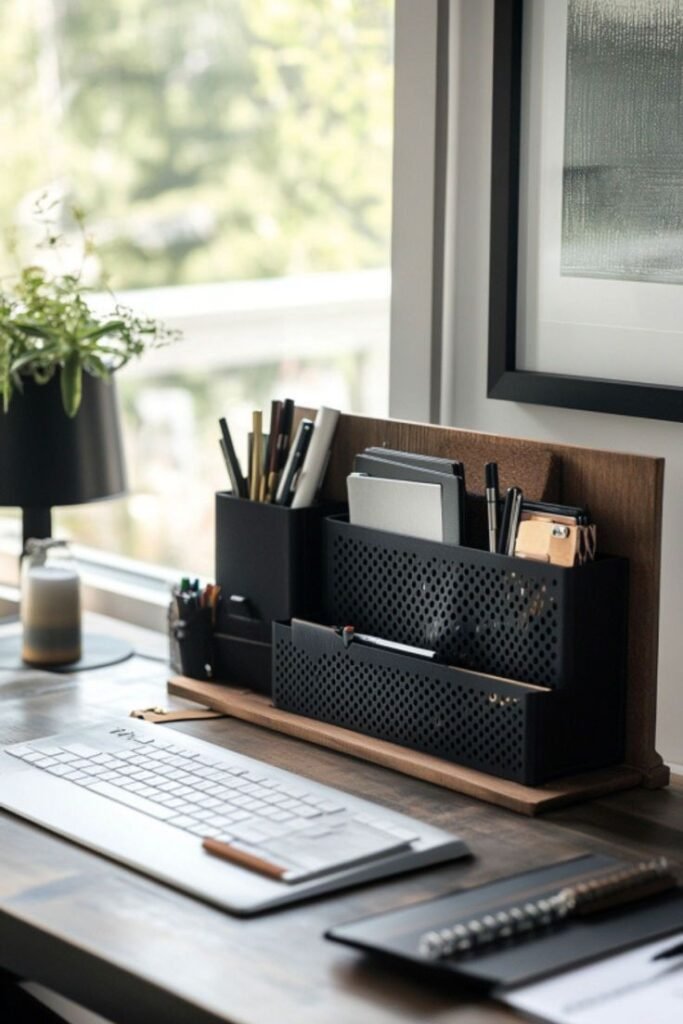
Step 4: Invest in Desk Organizers
Desk organizers are your best friend! They help you keep everything in its place and prevent clutter from accumulating. Here are a few of my favorites:
Desk Trays: Perfect for organizing papers, files, and mail.
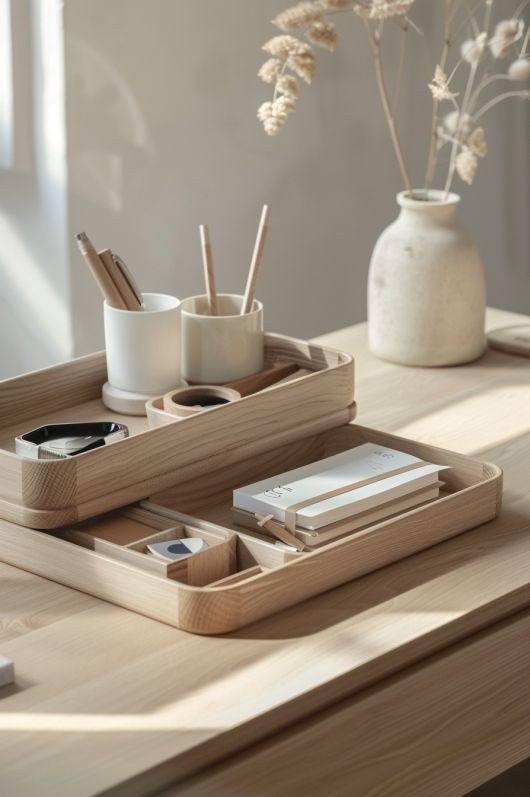
Pen Holders: Keep your pens, pencils, and markers organized and easily accessible.
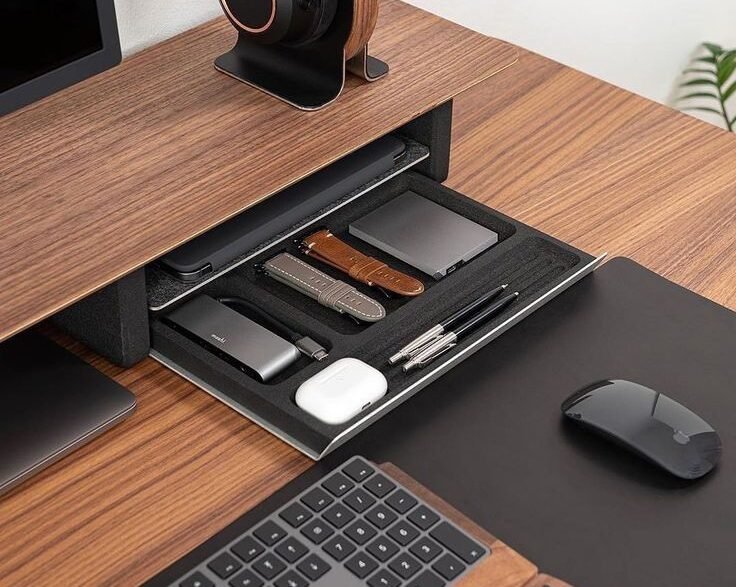
Drawer Organizers: Divide your drawers into compartments for different items.

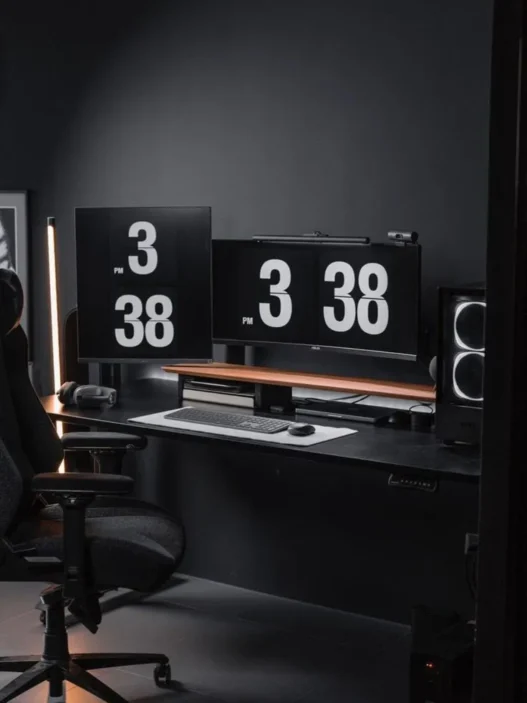
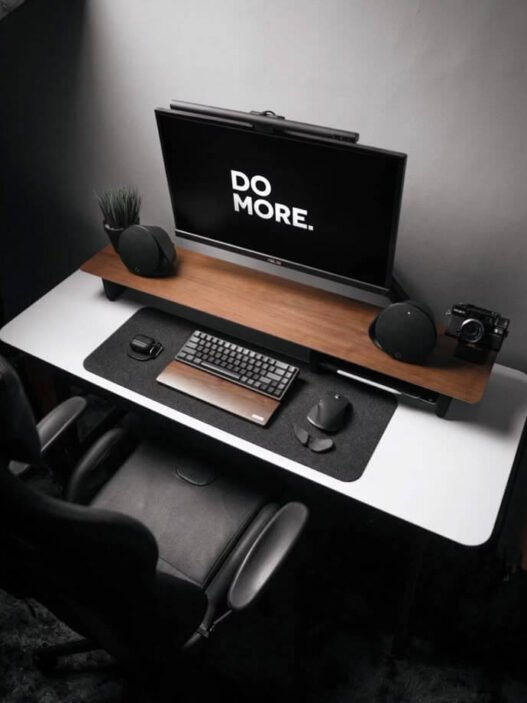
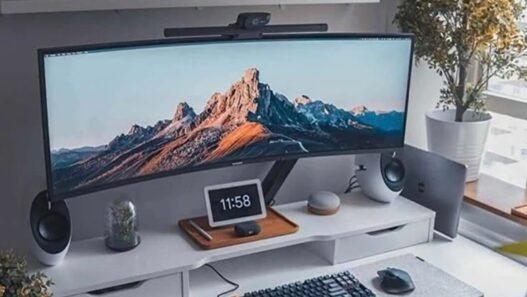
Monitor Stand: Raises your monitor to a comfortable viewing height and provides extra storage space underneath.
Don’t feel like you need to spend a fortune on desk organizers. You can find affordable options at most office supply stores or even repurpose items you already have. I use an old mason jar as a pen holder and a small cardboard box as a file organizer.
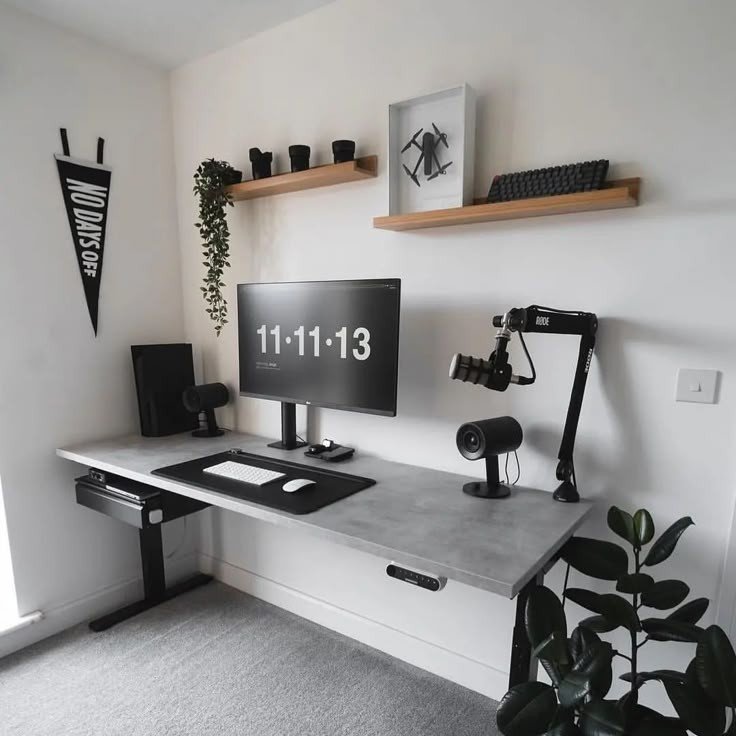
Step 5: Vertical Space is Your Friend
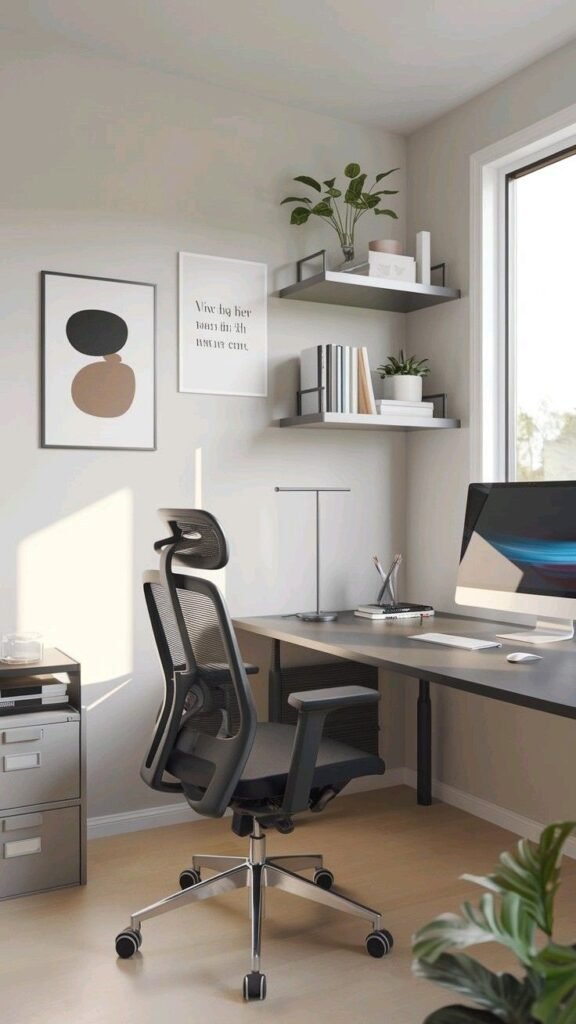
Don’t forget about vertical space! Use shelves, wall-mounted organizers, or even a simple bulletin board to maximize your storage space. This is a great way to keep frequently used items within reach without cluttering your desk surface.
I have a small shelf above my desk where I keep my favorite books and a few decorative items. It adds a personal touch to my workspace and keeps my desk from feeling too sterile.
Maintaining Your Organized Desk: Habits for Success
Organizing your desk is just the first step. The real challenge is maintaining that organization over time. Here are a few habits that have helped me keep my desk clutter-free:
- The One-Minute Rule: If a task takes less than one minute, do it immediately. This includes filing papers, throwing away trash, and putting things back in their place.
- End-of-Day Tidy: Take five minutes at the end of each day to tidy up your desk. This will prevent clutter from accumulating and make it easier to start the next day.
- Regular Purges: Schedule regular decluttering sessions to get rid of items you no longer need. I try to do a major desk purge every few months.
I find that setting a timer for five minutes at the end of the day and just focusing on tidying up my desk makes a huge difference. It’s amazing how much you can accomplish in just a few minutes!
Conclusion: Your Organized Oasis Awaits
So there you have it! My step-by-step guide to organizing your desk like a pro. Remember, the key is to declutter, organize, and maintain. It might seem daunting at first,